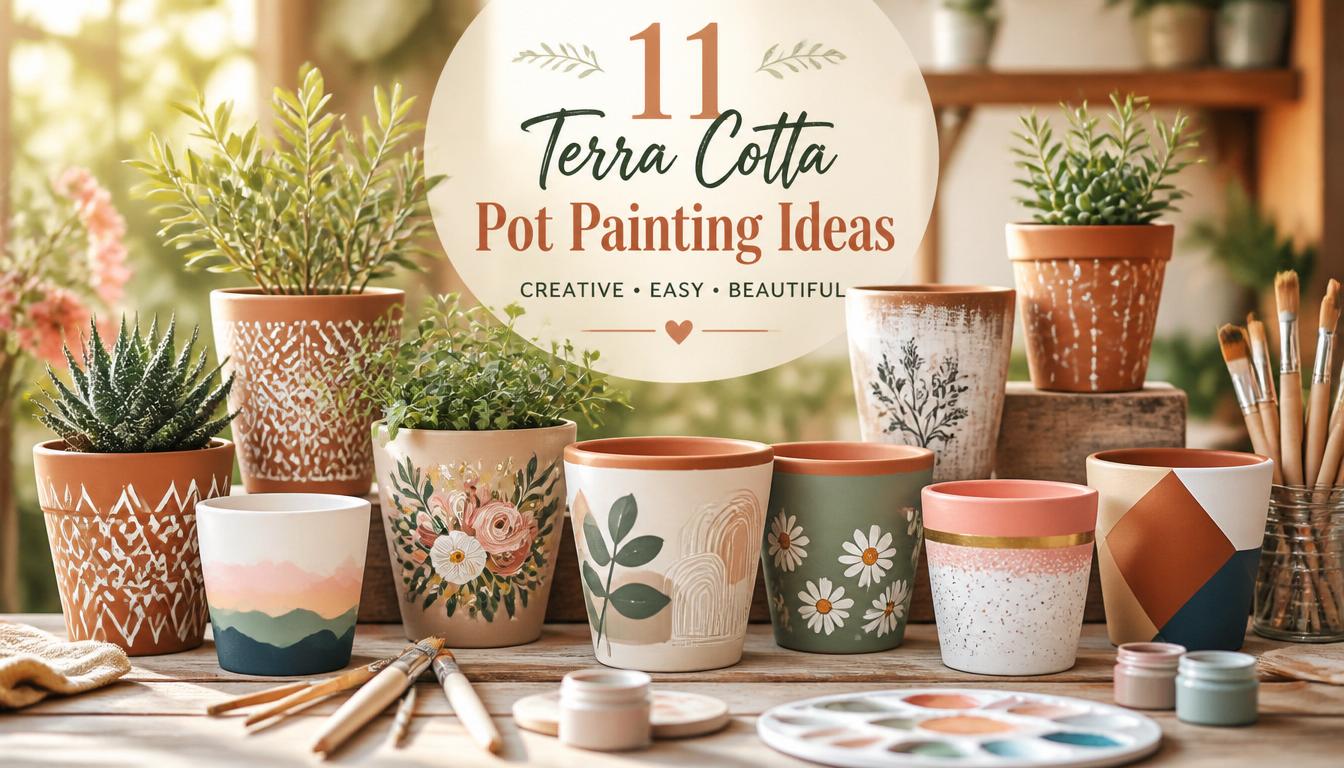
11 Terra Cotta Pot Painting Ideas
Introduction
Painting clay planters is one of the easiest ways to make a porch, patio, windowsill, or garden corner feel custom without spending designer money. A simple terra cotta pot can become a soft farmhouse accent, a bold modern statement, a cheerful herb marker, or a Pinterest-worthy gift with just paint, brushes, tape, and a little patience. For USA homes, this project fits beautifully into spring gardening, summer patio styling, apartment balcony decorating, and cozy indoor plant displays.
This guide gives you 11 practical painted planter ideas that look polished but still feel doable for beginners. Each section includes materials, styling logic, and real-life tips so you can choose the look that matches your home, whether your style is coastal, cottage, boho, modern, desert-inspired, or classic. The goal is not just to paint something pretty; it is to create pieces that make your plants, shelves, entryway, and outdoor spaces feel intentionally styled.
1. Modern Color Blocks
Materials: Painter’s tape, acrylic paint, foam brush, small detail brush, matte sealer.
- Creates a clean, modern look for shelves, patios, and balconies.
- Works well with neutral homes that need controlled color.
- Easy for beginners because tape helps create sharp lines.
- Looks beautiful in sets of three different planter sizes.
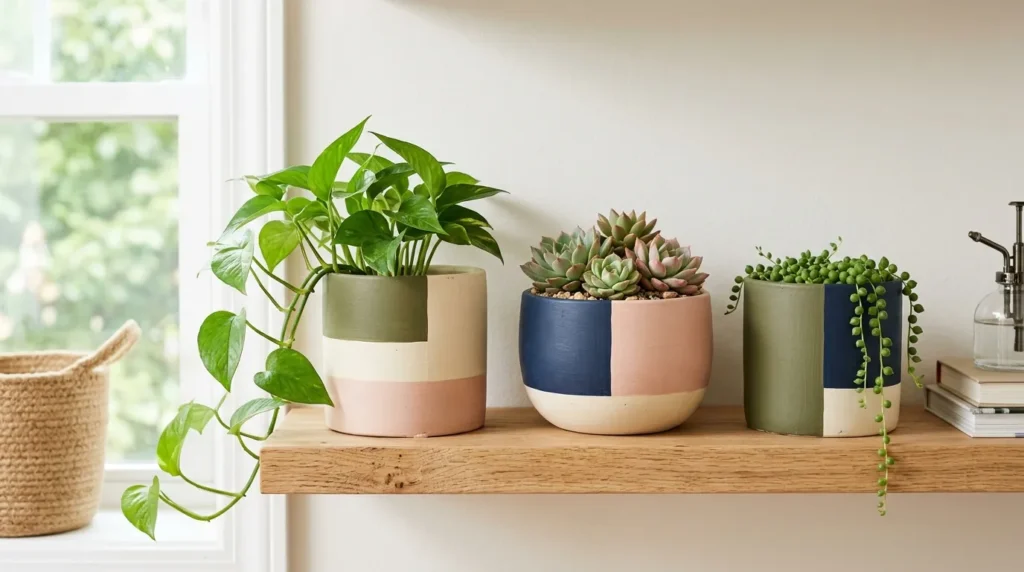
Bold color blocking instantly makes a plain clay planter feel like something from a boutique home store. This idea works because the shapes are simple, but the contrast feels clean, fresh, and intentional. Use painter’s tape to divide the surface into thirds, diagonals, or wide horizontal panels, then choose two or three colors that already appear in your room or patio decor. In my experience, soft beige with olive green, warm white with terracotta pink, or navy with cream looks especially polished in American kitchens, entryways, and covered porches today.
The finished look feels modern without being cold, which is why it works well for both indoor and outdoor styling. A color-blocked planter can anchor a bookshelf, brighten a windowsill, or make a small apartment balcony look more designed. For the cleanest result, seal the outside with a matte clear coat after the paint dries completely. Pair these painted pieces with snake plants, pothos, succulents, or herbs because their simple leaves let the geometric design stand out without visual clutter. Group three sizes together for a balanced Pinterest-style display at home.
2. Whitewashed Herb Set
Materials: White acrylic paint, water, rag, paintbrush, twine, waterproof sealer.
- Perfect for kitchen windowsills and small herb gardens.
- Gives a soft farmhouse finish without looking too polished.
- Makes fresh herbs feel more decorative and organized.
- Works beautifully with handwritten herb labels.
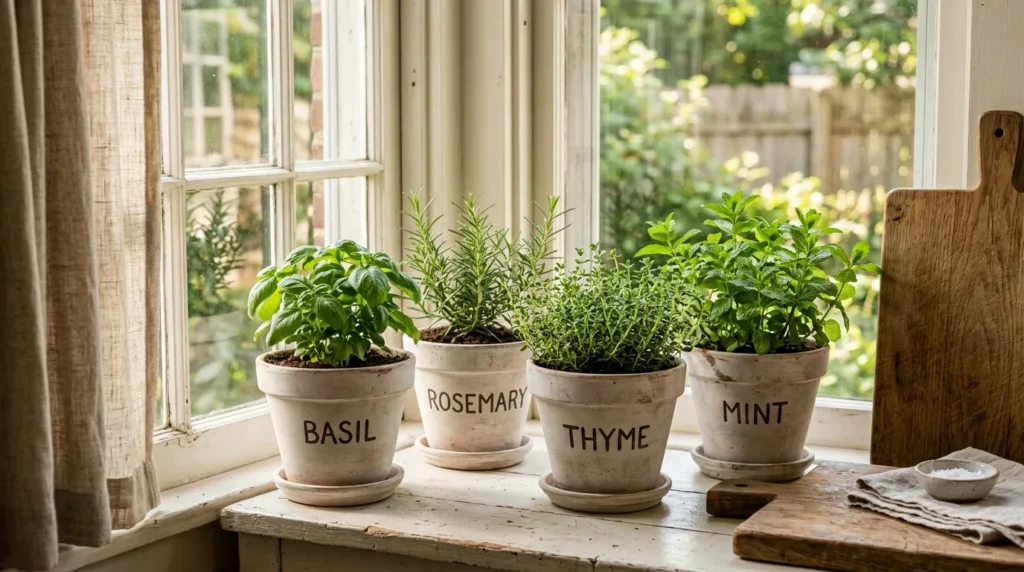
A whitewashed herb set brings that relaxed farmhouse kitchen feeling without making the planter look overly perfect. The charm comes from letting a little natural clay show through the paint, so the finish feels aged, soft, and handmade. Mix white acrylic paint with a small amount of water, brush it over the surface, then wipe back the excess with a paper towel or rag. I’ve noticed this technique works especially well when you want a bright look that still feels warm, rustic, and natural beside basil, rosemary, thyme, or mint.
This idea is also practical because each planter can become part of an organized cooking space. Add small painted labels, handwritten herb names, or simple twine around the rim to make the set easy to use every day. Place them on a sunny kitchen window, a rolling bar cart, or a back porch shelf near the grill. The whitewashed texture reflects light beautifully, making herbs look fresher and fuller. For durability, use a waterproof sealer if the pots will be watered often or kept outdoors during warm American summers and weekends.
3. Cottage Floral Wraps
Materials: Acrylic paint, small round brushes, liner brush, pencil, clear protective sealer.
- Adds a romantic handmade detail to porch or indoor displays.
- Great for spring decor, gifts, and feminine cottage styling.
- Works with tiny daisies, loose roses, wildflowers, or vines.
- Looks best when the rim is kept simple and clean.
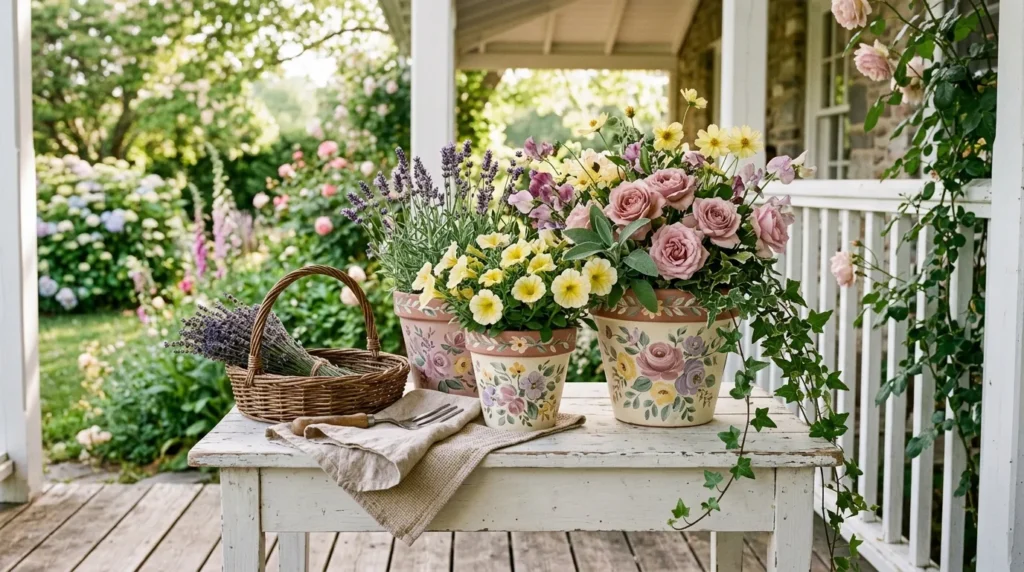
Soft floral wraps can turn ordinary planters into charming cottage-style accents that feel sweet, personal, and giftable. This idea works best when the flowers flow around the lower half or center band instead of covering every inch, because negative space keeps the design from becoming too busy. Use small round brushes for petals, a liner brush for stems, and muted colors like dusty rose, sage, lavender, butter yellow, and creamy white. That’s why many designers recommend repeating only three or four colors for a cohesive handmade look with gentle movement.
The result feels romantic but still useful for everyday decorating, especially in bedrooms, sunrooms, front porches, and spring tablescapes. You can paint tiny daisies, loose roses, wildflowers, or vines depending on how detailed you want the piece to be. Beginners should start with simple five-dot flowers and curved green stems, then build confidence with layered petals. These planters look beautiful with lavender, ivy, geraniums, or trailing greenery. For a polished finish, leave the rim solid, add a matching saucer, and style the planter near woven baskets or linen textures for cozy seasonal displays.
4. Coastal Stripe Planters
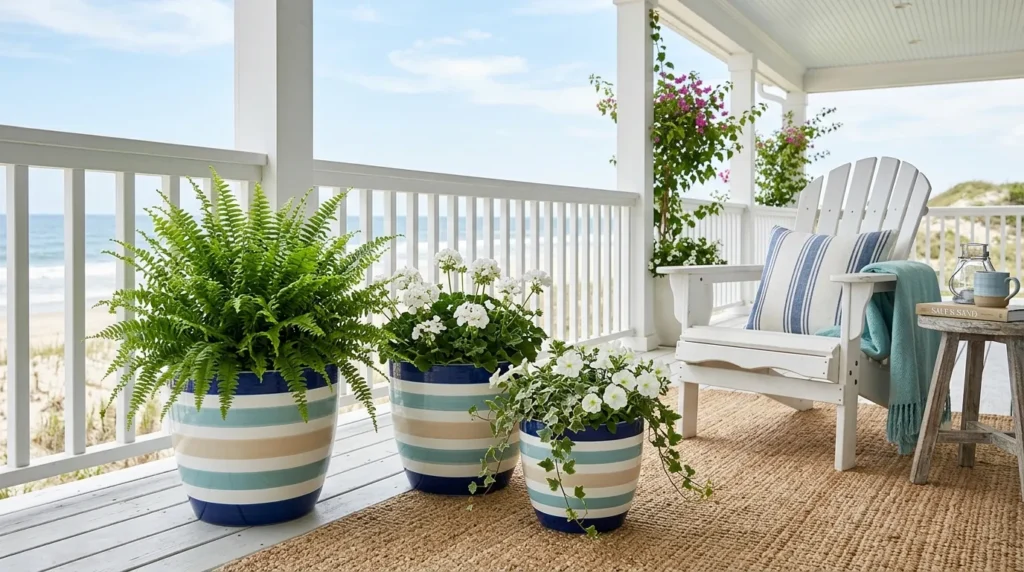
Materials: Painter’s tape, outdoor acrylic paint, foam brush, satin outdoor sealer.
- Brings a fresh beach-house feeling to patios and decks.
- Works well with navy, white, sand, aqua, and soft gray.
- Helps coordinate outdoor spaces without buying new decor.
- Looks crisp near white flowers, grasses, ferns, or succulents.
Crisp coastal stripes give planters a breezy, beach-house look that feels clean even when the rest of the patio is casual. The key is choosing colors inspired by classic USA coastal homes, such as navy, sand, white, sea-glass blue, weathered gray, or soft aqua. Use painter’s tape for even lines, or hand-paint slightly imperfect stripes if you prefer a more relaxed Nantucket or Florida porch feeling. I’ve seen this work well in many homes because the pattern adds structure without overwhelming plants, furniture, or outdoor rugs nearby in everyday outdoor living spaces.
These striped pieces are especially useful when you want your patio or deck to feel coordinated without buying all-new decor. Paint several planters in the same palette, but vary the stripe width so the grouping feels collected rather than matching in a flat way. Wide stripes look bold near a front door, while thin stripes feel delicate on a kitchen sill or side table. Add ferns, grasses, succulents, or white flowers for a fresh coastal contrast. A satin outdoor sealer helps protect the paint from humidity and sun through busy summer weekends too.
5. Boho Pattern Bands
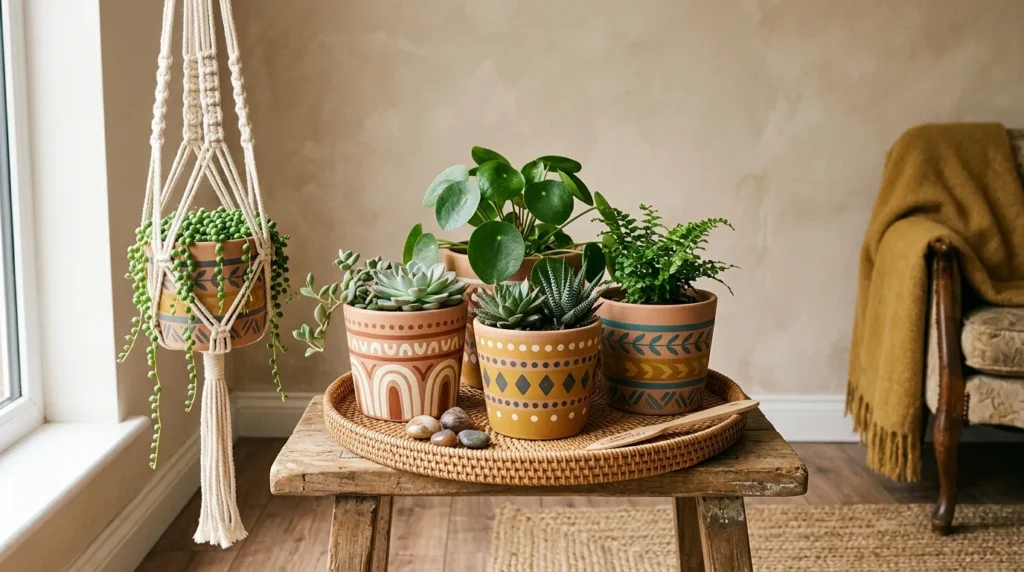
Materials: Paint pens, acrylic paint, pencil, small brush, matte sealer.
- Adds personality without painting the entire planter.
- Great for macrame hangers, rattan trays, and wood shelves.
- Beginner-friendly because repeated marks hide small mistakes.
- Works with earthy colors and warm neutral rooms.
Boho pattern bands are perfect when you want a handmade look with personality, rhythm, and warmth. Instead of painting the entire planter, create one or two decorative bands using dots, arches, diamonds, small leaves, triangles, or short brushstroke marks. Earthy colors like clay red, mustard, ivory, charcoal, rust, and muted teal keep the design grounded. In my experience, this approach is forgiving for beginners because small repeated marks hide minor imperfections while still looking intentional, creative, and very Pinterest-friendly on shelves, plant stands, and cozy corners in inviting lived-in spaces.
The transformation is strongest when you style these planters with textured materials that support the boho mood. Think macrame hangers, rattan trays, woven stools, jute rugs, wood shelves, and warm neutral walls. A single patterned band around the middle can make a small succulent feel special, while a wider band works beautifully on larger floor planters. Use a pencil to mark guidelines before painting, especially if you want symmetry. Once sealed, these pieces can move from living rooms to covered patios without losing their handcrafted charm beautifully throughout changing seasons.
6. Matte Black Labels
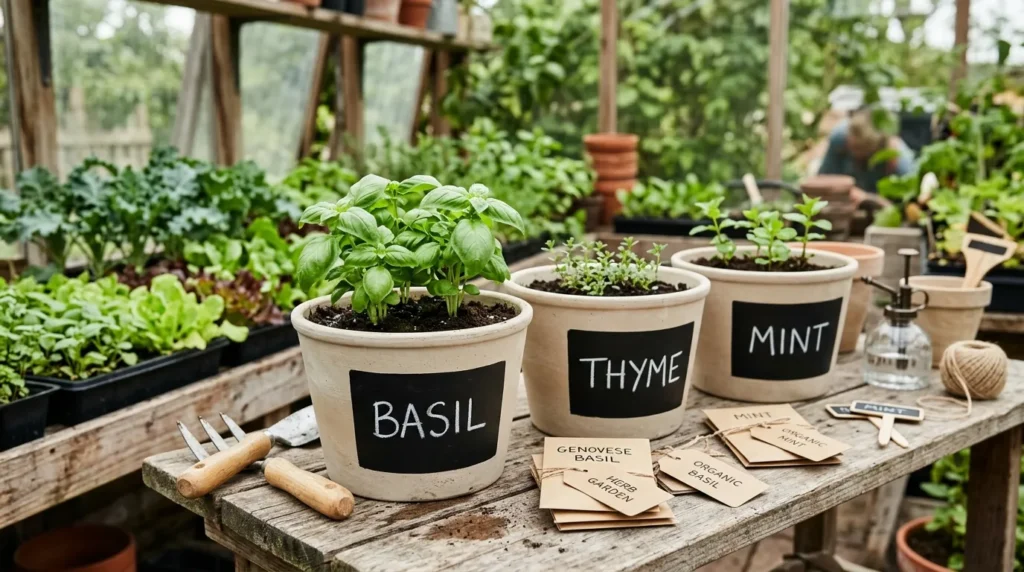
Materials: Matte black paint, neutral base paint, paint marker, stencil, outdoor sealer.
- Combines style with useful plant organization.
- Great for herbs, seedlings, kitchen gardens, and potting benches.
- Looks modern but still warm when paired with wood.
- Makes matching planter rows feel clean and intentional.
Matte black label designs make planters feel organized, stylish, and surprisingly high-end with very little effort. Paint the full planter in a warm neutral, soft white, sage, or natural clay-toned wash, then add a black rectangle, oval, arch, or chalkboard-style panel on the front. The dark label area creates contrast and gives you space to write plant names, dates, or simple words like grow, basil, bloom, or home. This idea works because it combines decoration with function, which is especially helpful for herb gardens and seed starts or beginner plant collections.
For real-life use, choose a waterproof paint marker or outdoor vinyl lettering if the planter will sit outside. Chalk looks charming but may smudge when watered, so save it for indoor displays or temporary party decor. These labeled planters look excellent in rows because the repeated black detail creates a clean visual system. Use them on kitchen shelves, greenhouse benches, patio tables, or garage potting stations. The matte finish softens the contrast, making the label look modern rather than harsh, especially when paired with leafy greens and natural wood in simple everyday settings.
7. Mediterranean Tile Motifs
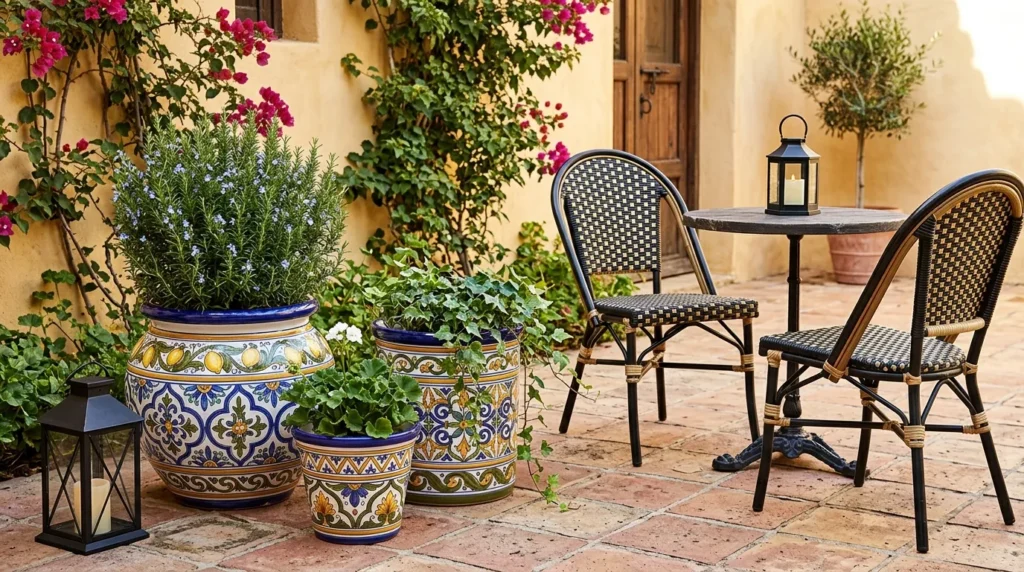
Materials: Stencil, cobalt paint, white base paint, fine brush, glossy or matte sealer.
- Adds a sunny, travel-inspired look to patios and dining areas.
- Works with tile-style patterns, small motifs, and repeated shapes.
- Pairs beautifully with rosemary, lavender, citrus, and olive tones.
- Can look glossy like ceramic or soft like hand-painted clay.
Mediterranean tile motifs bring rich pattern and vacation energy to planters without requiring complicated supplies. The look is inspired by painted ceramic tiles, so small repeating shapes are more important than perfect artwork. Start with a white, cream, or pale blue base, then add simple navy, cobalt, mustard, or green details using a stencil, paint pen, or fine brush. I’ve noticed this style looks especially beautiful near outdoor dining areas because it echoes tile patios, bistro tables, olive trees, and sunny courtyard spaces found in warmer regions with very little effort.
The finished planter can make even a basic corner feel collected and travel-inspired. Use one bold motif on the front for a simpler project, or repeat a tile-like pattern all the way around for a more decorative look. This idea pairs well with rosemary, lavender, small citrus trees, olive-toned foliage, or trailing vines. Keep nearby decor simple, such as linen cushions, woven chairs, and black metal lanterns, so the pattern remains the star. A glossy sealer can mimic ceramic shine, while matte sealer keeps the look softer and more relaxed.
8. Desert Sunset Ombre
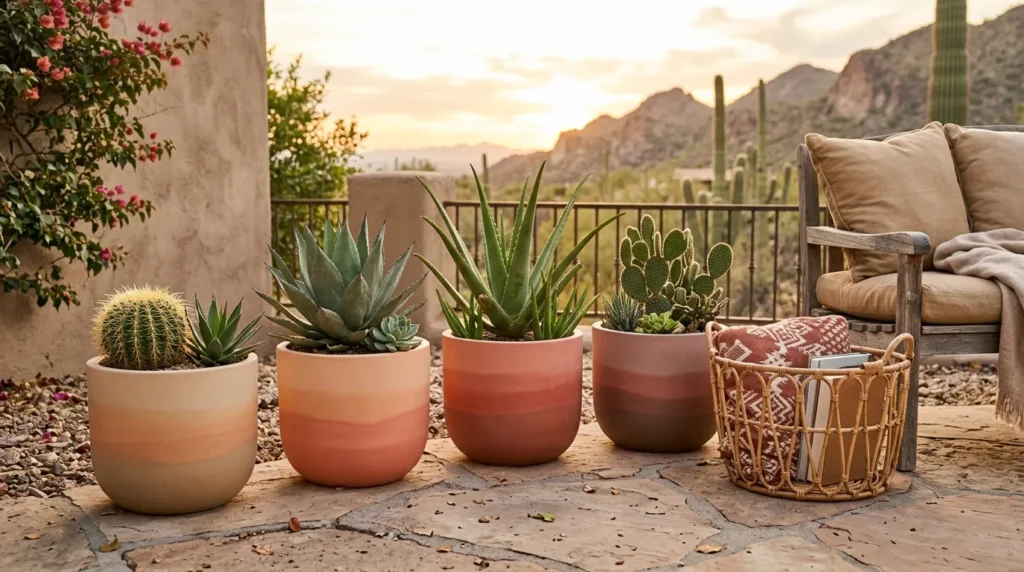
Materials: Sponge brush, acrylic paint, blending brush, warm color palette, outdoor sealer.
- Creates a warm Southwest-inspired color story.
- Perfect for cactus, aloe, agave, and sculptural greenery.
- Great for patios, balconies, and neutral indoor corners.
- Forgiving for beginners because blended edges do not need perfection.
A desert sunset ombre creates a warm, glowing finish that feels perfect for patios, balconies, and cozy indoor plant corners. Blend shades like sand, peach, coral, rust, muted pink, and soft clay brown from light to dark around the planter. A sponge brush works well because it softens the edges between colors and prevents harsh lines. This idea works beautifully for USA Southwest-inspired spaces, but it can also warm up modern neutral homes that need a little color without becoming loud or overly trendy in everyday rooms during every season.
The final look feels calming and sun-washed, especially when paired with cacti, succulents, agave, aloe, or sculptural greenery. Use the lightest color near the top if you want the plant to feel airy, or place the deepest shade near the rim for a moodier design. Ombre painting is forgiving because blending can be adjusted while the paint is still damp. Set the planter near woven baskets, tan cushions, leather accents, or natural stone for a complete desert-inspired vignette. Sealing is important if sunlight hits it daily for long-lasting outdoor color.
9. Speckled Stone Finish

Materials: Matte base paint, stiff brush, watered-down dark paint, cardboard, sealer.
- Gives an affordable planter a handmade ceramic look.
- Works well in organic modern and minimalist homes.
- Adds texture without using bright or bold color.
- Looks beautiful on shelves, consoles, and beside sofas.
A speckled stone finish gives a planter the look of expensive handmade ceramic without the fragile price tag. Start with a matte base color such as cream, greige, warm gray, mushroom, or soft taupe, then flick tiny speckles using a stiff brush and watered-down darker paint. The beauty of this idea is subtle texture; it adds visual interest while staying neutral enough for almost any room. That’s why many designers recommend speckled finishes when people want decor that feels elevated, calm, and easy to mix with existing pieces across changing home styles.
This finish works beautifully in minimalist, organic modern, Scandinavian, and transitional homes because it adds depth without bright color. Use it for larger floor planters beside a sofa, small pots on floating shelves, or matching sets on a console table. Practice the speckling on cardboard first so you can control the dot size and density. Too many speckles can look messy, while a light scattering feels refined. Pair the finished piece with rubber plants, ZZ plants, ferns, or olive trees for a soft, designer-style result in any room.
10. Pastel Porch Set
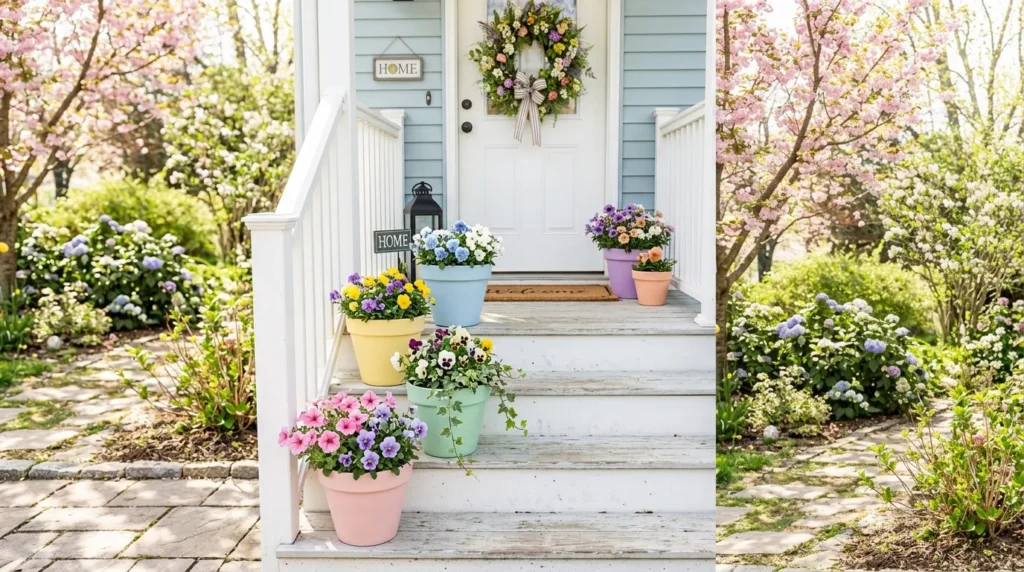
Materials: Outdoor acrylic paint, foam brushes, clear sealer, planter stands, matching saucers.
- Makes a front porch feel cheerful, bright, and seasonal.
- Great for spring flowers, summer annuals, and small herbs.
- Works best in coordinated pastel colors rather than random shades.
- Photographs beautifully for Pinterest and seasonal home content.
A pastel porch set instantly makes an entryway feel cheerful, friendly, and ready for spring or summer. Choose soft shades like blush, mint, butter yellow, powder blue, lilac, or peach, then paint each planter a different color while keeping the finish consistent. This idea works because the color variation feels playful, but the shared pastel palette keeps everything coordinated. I’ve seen this work especially well on American front porches where seasonal flowers, welcome mats, and wreaths already create a bright first impression for guests and neighbors during the growing season.
To make the set feel polished, use odd-numbered groupings and vary the heights with plant stands, steps, crates, or small stools. Fill the planters with pansies, petunias, geraniums, herbs, or trailing annuals depending on your sunlight. A pastel set also photographs beautifully for Pinterest because the colors look fresh against white siding, brick, wood doors, and concrete steps. Use outdoor acrylic paint and a clear sealer so the finish can handle watering and weather. Keep nearby accessories simple to avoid making the porch feel crowded in small entry areas too.
11. Gold Rim Accents
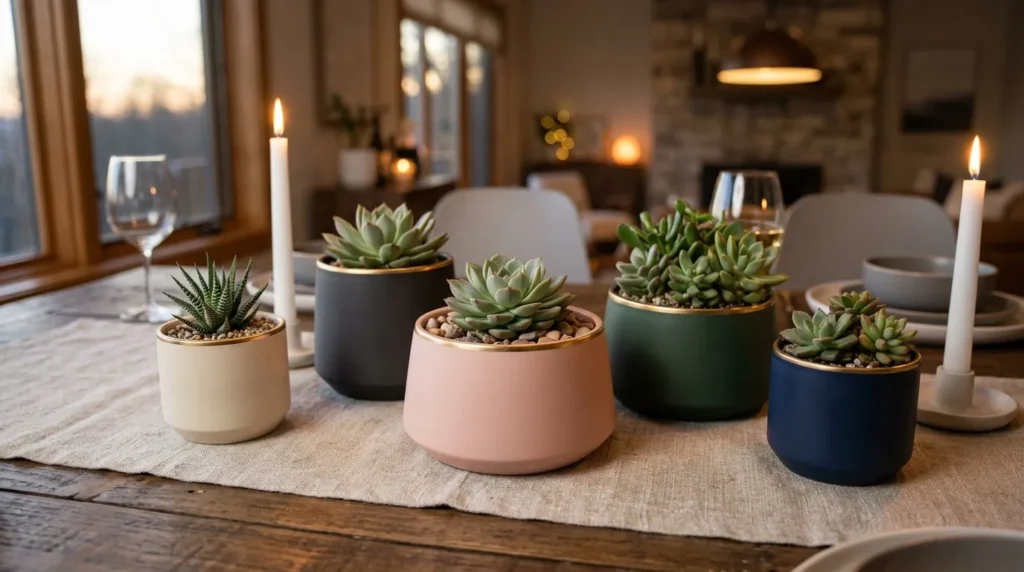
Materials: Matte paint, metallic gold paint marker, painter’s tape, small brush, clear sealer.
- Adds a refined detail without making the planter look flashy.
- Works well for gifts, shelves, desks, and dining tables.
- Best with matte body colors and thin metallic edges.
- Great for indoor plant lovers who prefer elegant decor.
Gold rim accents add a small touch of shine that makes painted planters feel elegant without looking overdone. Paint the body in a soft matte shade, then highlight the rim with metallic gold using a small brush or paint marker. The contrast between matte color and subtle shimmer is what makes this idea feel refined. It works especially well with cream, charcoal, blush, forest green, navy, or deep terracotta-inspired paint. In my experience, metallic details look best when they are used sparingly and repeated intentionally across the whole display design.
The transformation is subtle, but it can make a shelf, dining table, office desk, or nightstand look more finished. Gold rims pair beautifully with simple plants such as succulents, orchids, pothos, or small ferns because the greenery softens the shine. For a cleaner edge, place painter’s tape just below the rim before applying metallic paint. Add two thin coats rather than one heavy coat to prevent streaks. This style also works well for wedding favors, housewarming gifts, holiday table decor, and matching sets for indoor plant lovers for thoughtful plant lovers.